Hello, it’s Tip Tuesdays again, and this is just for photographers. We are going to discuss global dodge and burn today or D & B.
(DISCLAIMER: This method is a style and process that works for me and my images.Not discrediting any other techniques of d&b)
First: What exactly is dodging and burning?
Dodging and burning is a method where you selectively lighten (dodge) and darken (burn) areas of an image.
Whats the difference between global vs. local dodge and burn?
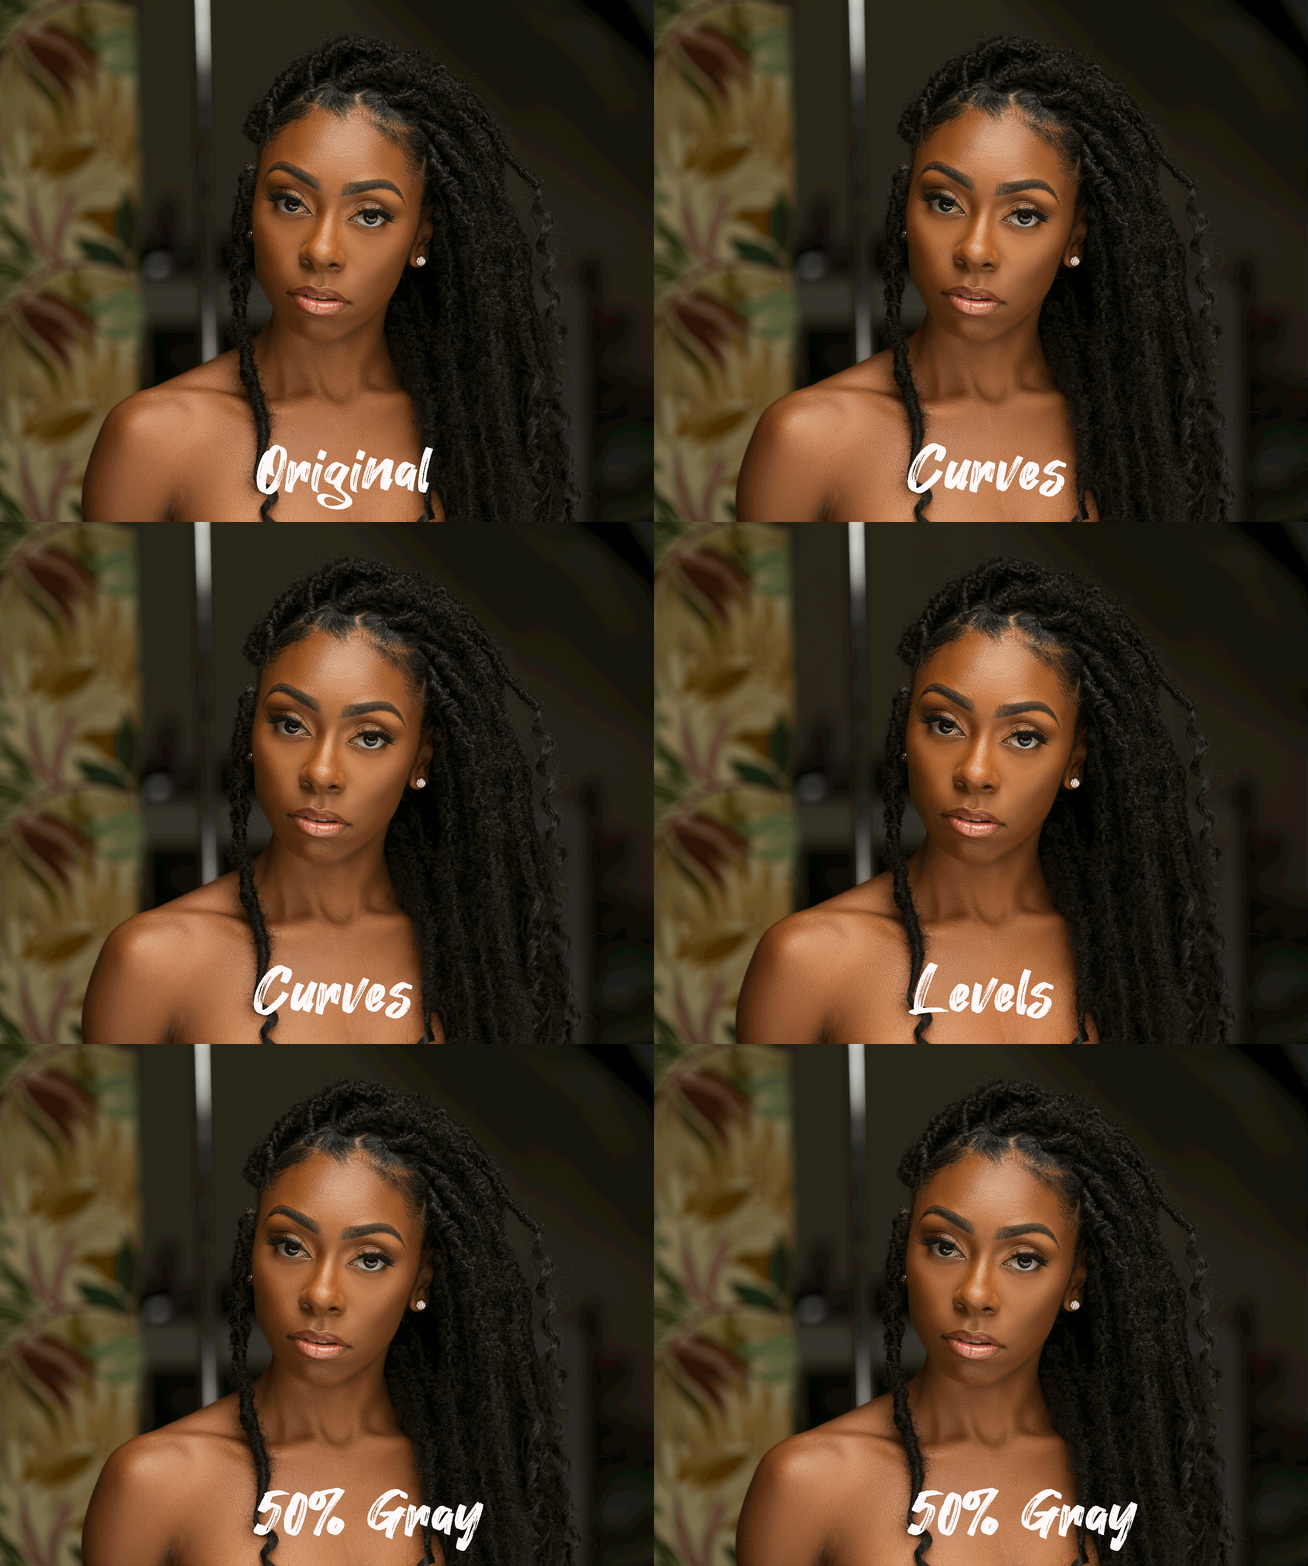
Global dodging and burning sculpts and contours the face, think of it as contouring and highlighting a face with makeup. Ladies, I'm sure you know exactly what I am referring to. Gentlemen refer to the photo below.
Local dodging and burning while similar goes more into depth. This technique that allows you to pinpoint areas of an image and either lighten (dodge) or darken (burn) the exposure. Instead of doing a large area (global), you are zooming in pixel by pixel to fix tonal inconsistencies in skin tones.
When I typically do one on ones, or even helping a friend out with editing a photo, this step is 5/10 skipped. Why? I haven’t the slightest clue because it can easily take your photos from flat and dull to dynamic and exciting. With everything in Photoshop, there are multiple ways to do one thing. Everyone has their preference, and each method will give you slightly different results.
Method 1: Curves Layers
Dodge
Select the curves adjustment layer.
Slightly bring the line up to brighten the image (dodge)
Inverse the layer mask.
Grab a soft brush - Opacity on 100% - Flow between 1%-3% (this will allow a more natural effect)
Paint the desired areas until you achieve the desired result.
Burn
Select the curves adjustment layer.
Slightly bring the line down to darken the image (burn)
Inverse the layer mask.
Grab a soft brush - Opacity on 100% - Flow between 1%-3% (this will allow a more natural effect)
Paint the desired areas until you achieve the desired result.
(Tip: If the results are a little too hard Gaussian blur the mask at about 4.0 to soften the effect)
Method 2: Levels
(DODGE)
Select levels adjustment layer
Take the white arrow and slightly slide it to the left; this will brighten the image.
Double right-click the layer to open blending levels
Locate the underlying layer tab
Spilt the gray arrow in half (option and right-click)
Bring the first half all the way over to the end of whites.
The other half to the beginning of the grays.
This will ensure the effect is only on the highlighted areas instead of the entire photo.
(BURN)
Select levels adjustment layer
Take the black arrow and slightly slide it to the right; this will darken the image.
Double right-click the layer to open blending levels
Locate the underlying layer tab
Spilt the gray arrow in half (option and right-click)
Bring the first half to the beginning of the gray area.
The other half will stay in place.
This will ensure the effect is only on the shadow areas instead of the entire photo.
(Turn eye one and off to view the effect. Remember, if the result is too much, you can always lower the layer opacity.)
Method 3: 50% Gray layer
Dodge
Create a blank layer
Edit-Fill with 50% Gray
Blending mode on Soft Light
Grab a soft brush - Opacity on 100% - Flow between 1%-3% (this will allow a more natural effect)
Paint with white to brighten the desired areas.
Burn
Create a blank layer
Edit-Fill with 50% Gray
Blending mode on Soft Light
Grab a soft brush - Opacity on 100% - Flow between 1%-3% (this will allow a more natural effect)
Paint with black to darken the desired areas.
(Tip: BEFORE YOU START TO DODGE ON THE LAYER DUPLICATE IT. THIS WILL SAVE YOU TIME FROM MAKING A NEW GREY LAYER TO BURN ON.)
The more you D&B, the easier it will be to find your style. I personally dodge with levels and burn with curves. YES! You can 100% mix and match the different layers. There are no rules as long as you can achieve your desired look, then that is the right way.
I hope this helped someone, let me know if you have any questions.


